What is Manifold?
Manifold is a free tool that empowers creators by allowing them to have full control of smart contract creation and minting. It is interoperable with all major NFT marketplaces and allows for minting of both ERC721 and ERC1155 tokens. It’s great that Manifold allows for you to mint using both of these token standards, but it is important to note that a lot of platforms have less or no support at all for ERC1155 tokens. So that will be good to keep in mind when choosing which token standard you want to use for your artwork. Here’s a link to a medium article that talks a little more in depth about the differences between the ERC721 and ERC1155 token standards.
In December of 2021, Manifold opened to everyone and also added quite a few improvements to the tool. It now is able to facilitate airdrops and has an extremely cheap deployment cost (~0.05Ξ). Before Manifold, creating a custom contract was an expensive and time consuming process that kept many creators from true ownership of the NFT’s they minted.
Manifold is designed to empower artists and many of our Burrito DAO contributors frequently use this tool to take control of their minting process. It’s a one stop shop for all the necessities. You’re able to both launch a contract and mint tokens on testnet before spending time and money deploying and minting on Ethereum mainnet, making Manifold the perfect tool for any creator. Notable artists that have used Manifold to power their drops include, Steve Aoki, Jay-Z, and the Sacramento Kings.
In this article, we will provide an overview of Manifold Studio and all the tools you have at your disposal. Including creating ASCII art and a unique contract symbol to set yourself apart.
How to deploy a custom contract and mint a token
Now that we’ve explained a little bit about Manifold Studio and the tools they offer to creators, let’s get into the fun stuff, deploying a contract and minting tokens.
So let’s get into it. This is what you’ll see after connecting your wallet on studio.manifold.xyz.

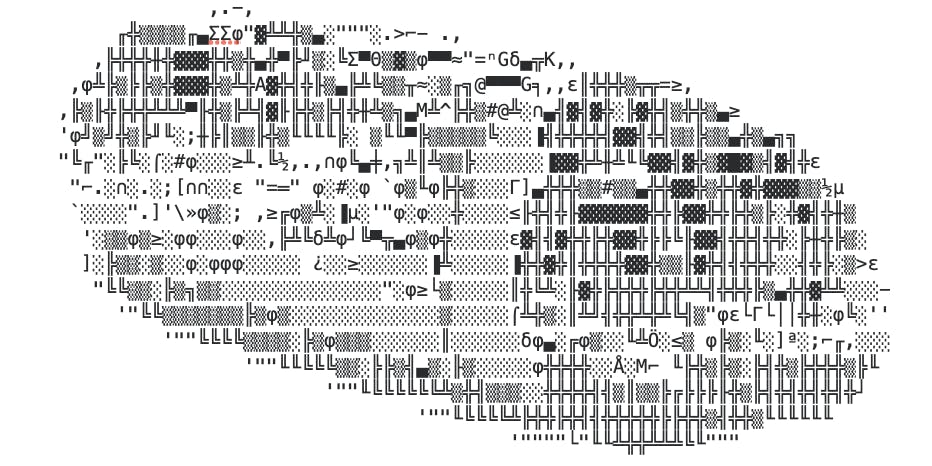
After clicking ‘New contract’ you will see an interface where you’re able to name the contract, choose a token type (ERC721 or ERC1155), and also choose a token symbol to represent your contract. Your contract name is the main identifier for your contract and how it will appear on all major marketplaces, your contract can be named for a specific project or can just simply be your artist name or brand identity. Your token symbol will be displayed on Etherscan when your contract is being viewed, it is also commonly used when sharing links to said contract and even on other marketplace platforms where you selling and trading the tokens minted with it. This symbol is limited to five alphanumeric characters and it does not have to be unique. This interface is also where you will input your ASCII art. For the art for this example contract, I used asciiart.club to convert a photo of a burrito into ASCII art.

The next step after you’ve picked a contract name, token type and contract symbol is to deploy your contract on the Rinkeby testnet. Deploying on testnet is an important step because it allows you to view your contract and mint tokens to it before spending any money on deploying the contract to Ethereum mainnet. This allows you to make sure everything looks the way you want it to and even allows you to familiarize yourself with the mechanics of deployment and minting tokens before you do it on mainnet. Before deploying on testnet, you will need to visit https://rinkbeyfaucet.com/ and send yourself some Rinkeby ETH in order to have ETH for the gas needed to deploy the contract and mint tokens. Don’t worry, it’s free to claim Rinkeby ETH. Once you have Rinkeby ETH you are ready to deploy, you will be prompted to sign a transaction to deploy the contract, and then you will need to wait 5-10 minutes for the contract to be verified and made public on Etherscan.

After the contract has been verified you are now ready to mint tokens with it. Navigate to the tokens tab, and you will be able to create a new token to be minted with your contract on Rinkeby.


For the purpose of this article we will be minting a single token, a photo of a burrito. Here, you will be able to upload your artwork file, title the artwork and assign the token any properties you would like to. These properties could include the artist name, art genre, year made, etc. Once you have completed all these steps, you’re ready to mint a token!

Click, ‘Mint to Rinkeby’ and you will be prompted to either mint the token to yourself or airdrop it to another address. If you are wanting to list the token to a marketplace in order to sell it, you will want to mint the token to yourself. You’ll be prompted to sign a transaction to mint the token, and congrats! You have officially minted a token to test net, pat yourself on the back and maybe even order a burrito to celebrate?

You can now view your minted token on Opensea, LooksRare and Rarible. It’s a good idea to take a look at each of these platforms so you’re familiar with how your minted token will look once you’ve minted it on mainnet.
If you are happy with how everything looks, you’re ready to mint to mainnet! Switch your wallet network back to Ethereum mainnet and then follow these exact steps again, only this time it’s for real.
Why do I need my own contract?
In order to better understand the importance of a self owned contract, you need to understand the downfalls of the alternative, a shared storefront contract. Many creators minted their first NFT through a shared storefront contract on Opensea. This was a cheap and easy way for most people to mint and sell their first NFT’s. This shared storefront contact allows for minting and listing for an extremely cheap price, but does not give you any ownership or control of the contract used to mint these tokens. In short, Opensea owns and controls the contract used to mint and edit these tokens. So if for some reason Opensea ceases to exist, so does your access to the tokens minted using this contract. This prevents you from making changes to metadata such as the image attached to the token, the name of the token, and the token description and would even prevent you from listing these tokens on another platform such as Looks Rare or X2Y2.
One of the best ways to visualize the importance of ownership of your contract is by looking at what Subtle Bubble is doing with his recent project **Sippys. **Each day he starts a 24 hour action with a placeholder image, the winner of the auction is able to have the placeholder image replaced with their own custom Sippy, the name and the description the token is also updated. This may not seem like a big deal, but without owning the contract and having full creative control of the tokens minted, a project like this would be impossible to facilitate so smoothly. Manifold Studio’s easy to use interface and powerful tools make this process seamless to execute.
Contract Customization, why is it important?
Contract customization and its importance really boils down to one main thing, setting yourself apart at the base layer. Your contract is the foundation that your work lives on, so it should be unique and easy to recognize. Below are some examples of creative contract customization from our DAO members. Em0tionull and Alhucard both have unique ASCII art that allows their contract to stand out. Setting yourself apart is important but ASCII art is also just really cool and a fun way to add a personal touch to your self-owned smart contract.

Self Owned Contract Safety
Wallet safety is of the utmost importance when it comes to protecting your smart contract. Because of this, it is highly recommended to use a hardware wallet when creating and deploying smart contracts with Manifold. If the wallet you used for creating and deploying with Manifold ever gets compromised, this will allow the attacker to adjust the wallet that ALL royalties get sent to, add and remove admin addresses, and even register extensions to your contracts. They will even be able to move any unsold tokens to another address. Getting a hardware wallet from Ledger is the easiest and most straightforward way to add an extra layer of security to prevent this from happening. Visit their website to compare the two hardware wallets they offer and see which one is the best fit for you.
More Burrito Content
Follow us on Twitter and join our Discord to stay informed about any future articles and content from the contributors at Burrito DAO.